

NO hay bugs porque lo que me dijeron los creadores trabajan en la propria empresa y tienen conocimientos para los camdrivers.Iniciado por rivamar26

Mira te dejo aca el link si queres probar.
descarga:
4shared.com - online file sharing and storage - download Cybershotâ„¢_v8.0_BestPicColorâ„¢_Final_for_k850.z ip
Resultados 21 al 30 de 38
-
28/07/2009 09:59:08 #21Avanzado

- Fecha de ingreso
- 19/mar/2008
- Ubicación
- planeta tierra
- Móvil
- Sony Ericsson
- Mensajes
- 110
Respuesta: Que Pasa Con Las Camdrivers Del K850???
28/07/2009 22:22:08 #22Recién Iniciado
- Fecha de ingreso
- 29/may/2009
- Móvil
- -
- Mensajes
- 4
Respuesta: Que Pasa Con Las Camdrivers Del K850???
olas...miren cometi un error al borrar el driver de la camara frontal del k850 ...kisiera saber si alguien lo tiene ...grazz me kde sin videollamada )=
29/07/2009 16:04:15 #23Top Android

- Fecha de ingreso
- 23/may/2008
- Ubicación
- san cristobal de las casas mexico
- Móvil
- K850
- Mensajes
- 20
Respuesta: Que Pasa Con Las Camdrivers Del K850???
hola amigos... una preguntota... la verdad quisiera probar el jupita 2x 7 megapixeles... alguien me lo podria facilitar??? y tambien hablarme de el alguien que ya lo haya probado???? muchas gracias!!!!
 ]
]
31/07/2009 19:18:50 #24Top Android

- Fecha de ingreso
- 16/abr/2008
- Ubicación
- Buenos Aires
- Móvil
- K850i
- Mensajes
- 20
Respuesta: Que Pasa Con Las Camdrivers Del K850???
Ya he probado varios Camdrivers y los mejores me parecian los de Adolf Vicius... Cybershot 7.26 final...
Hasta que conoci los de Witchking!! Los Cybershot Xperience son INCREIBLES... realmente excelentes... bastante complicados de entender al principio... tarde como una semana en acostumbrarme a todos los diferentes seteos que tienen, pero una vez que le agarras la mano son realmente excelentes...
La version de la que puedo hablar es la 7.2, ya que es la que mas he probado. Este fin de semana pienso actualizarla a la 7.5 que dicen que es un poco mas rapida todavia...
Espero que esta opinion les sirva!!
Un abrazo!!
02/08/2009 01:05:26 #25Avanzado

- Fecha de ingreso
- 02/sep/2007
- Ubicación
- Cochabamba-bolivia
- Móvil
- k550@w610
- Mensajes
- 280
Respuesta: Que Pasa Con Las Camdrivers Del K850???
me quedo con Adolf Vicius uso muy sencillo buenas fotos y sobretodo el FLASH FORZADO para usarlo donde quieras incluso apuntandolo al sol... el mejor.... no encontre bugs...
02/08/2009 17:37:28 #26Top Android
- Fecha de ingreso
- 23/may/2008
- Ubicación
- san cristobal de las casas mexico
- Móvil
- K850
- Mensajes
- 20
 Respuesta: Que Pasa Con Las Camdrivers Del K850???
Iniciado por ikent2009
Respuesta: Que Pasa Con Las Camdrivers Del K850???
Iniciado por ikent2009
hola amigo!!! te invito a que pases a la zona de descargas y te vas a camdrivers, escoges para el k850 y ahi te vienen los dos descargalos y wala!!! lo tienes recuperado!!! saludos!!!!!aaa6
15/08/2009 03:36:45 #27Recién Iniciado
- Fecha de ingreso
- 08/ago/2009
- Móvil
- -
- Mensajes
- 1
Respuesta: Que Pasa Con Las Camdrivers Del K850???
a mi me funciono vien el camdriver Cyber-shot snap 10.0 rc2 mf by Xfir no me marco error
16/08/2009 04:17:18 #28Top Android

- Fecha de ingreso
- 11/nov/2007
- Ubicación
- San Jose, Costa Rica
- Móvil
- Arc
- Mensajes
- 95
Respuesta: Que Pasa Con Las Camdrivers Del K850???
Probe esos del Mensaje! y tambien Cybershot Xperience... Iniciado por TEAMSEW200
Les cuento que Xperience, no me dio ningun BUG! y En modo automatico me saca bastante bien las fotos! Alguna quedan medio oscurillas pero es por tenerlo en modo automatico!
El zoom a la manera de hacerlo me gusta.. es bastante bueno a la hora de enfocar!
De Bestpic color les cuento que Tiene un BUG, que si Pones en las configuraciones, Reduccion de ojos rojos, Luz incandescente y ISO 400... Se pone totalmente en negro!... Que mal! Aparte que en automatico sacas las fotos muy claras!
Asi que todavia ninguno me convence!! Algun otro para probar que talvez sean buenos?
salu2!
EDITADO!
Yo buscando encontre!
haber que tal esta nueva versión!
Amigos he encontrado este Camdriver!! Que me parece segun las fotos esta muy bueno

muchas características adicionales sin perder ninguno de los originales!
Sorprendentemente colores vivos y la calidad
Control de la ISO para los flash y no flash tiros
-Control de velocidad de obturador, enfoque manual
Manual de contraste
Manual de Saturación
Manual de Nitidez
Auto-exposición de bloqueo de encendido / apagado
Tono de color avanzada de selección
Equilibrio de color: cian, Rojo, Amarillo, Morado
Flash forzado de encendido / apagado
Corrección de color encendido / apagado
Y otras características se centran en el modo de video
Resolución de vídeo de selección y muchos otros!
Hay mucho que pueden ganar ya que este conductor tiene todos los caracteres de un super-modo. Uso y Disfrute de la potencia de 5 mega píxeles!
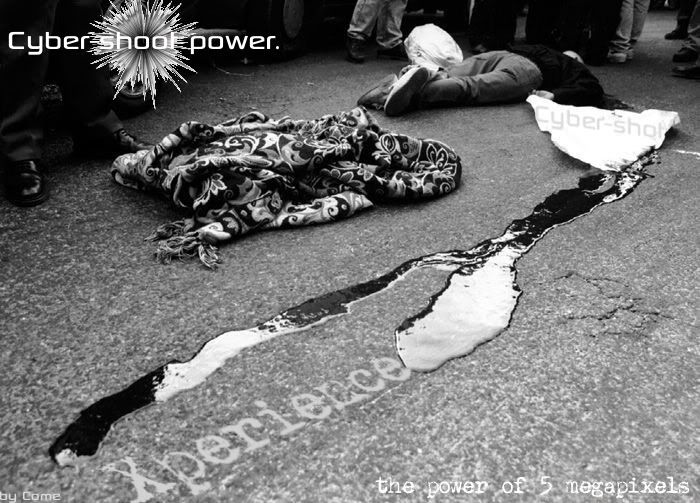
CYBERSHOT XPERIENCE 7.5
Once again, Cybershot Xperience is the first driver to bring in further manual customizations for A2 models.
Change-log in 7.5
* New refined Manual settings code with incredibly smooth EV steps
* Better colours
* Improved Flash mode
* Manual Hue and Colour balance can now be used with flash mode
* Camera consumes lesser heap memory
* Many other minor changes
-------------------
Nota:
Usando Cybershot Xperience avanzada no es en absoluto difícil como parece.
Es muy cómodo y fácil de utilizar en el uso.
Además, cuando se carga el archivo de idioma con el controlador en el directorio, tendrá una nueva interfaz con la ayuda y de información disponibles para cada ajuste en el controlador, y usted ni siquiera tendrá que memorizar o tener en cuenta la ubicaciones de los diferentes ajustes manuales en el controlador.


Manual de Uso de la configuración le ayudará a conseguir grandes fotografías. Profesionales y fotógrafos avanzados se beneficiarán sin duda a ella.
Sin embargo, si el usuario no desea ponerlos en uso, acaba de tener en cuenta que todavía Cybershot Xperience es un excelente punto y disparar camdriver.
Mantenga todos los valores en auto y disparar enseguida.
USING IN AUTO-SCENE:
___________________
Outdoors:
Use in Auto-mode, turn Flash and Colour Correction to AUTO by # key to Turn Colour Correction on.
If you prefer less vivid colours, you may turn colour correction off by turning flash off.
Indoors:
Turn Flash off or on as you desire and simply capture a pic.
-------------------------------------------------------------
Complete list of Manual Settings:
_________________________________
*ISO control
This works both with Flash Off and Flash On mode, so you can now simply raise Flash ISO by raising EV in normal mode. This makes it a very easy and quick way for using flash ISO of your choice.
For non-flash shots, ISO is controlled in Beach?Snow scene which is now identical to auto scene and differs in ISO Control only.
*Flash Shutter-speed control
Select RER flash and balance Shutterspeed by EV buttons
Shutter-speed control for non-flash shots coming soon.
*Record videos in two different resolutions!
To record in 320 x 240 , just switch to video mode without Night Mode and record.
To record in 352 x 288, turn Night Mode on by pressing 6 button. Night Mode has been replaced with Higher Resolution code.
In Effects menu, Manual Settings have been implemented as follows:
*Manual Focus (Previously Black and White)
(ALL FEATURES ALSO WORK IN VIDEO MODE SO NOW WE CAN RECORD MACRO VIDEOS WITH K850.
Preview:
macro videos with k850i )
)
*Manual Contrast (Previously Negative)
*Manual Saturation (Previously Sepia)
*Selection of effects with EV values (Previously Solarize)
In White Balance menu, the Manual Settings implemented are:
*Night Mode for Video Mode (Previously Daylight)
*Manual Colour Balance between Cyan and Red (Previously Cloudy)
*Manual Colour Balance Between Yellow and Purple (Previously Fluorescent)
*Selection of White Balance with EV values (Previously Incandescent)
In ISO Menu, the Manual Settings implemented are:
*Manual Tint/Hue (Previously ISO100)
*Manual Sharpness (Previously ISO200)
*Auto-exposure Lock (Previously ISO400)
-------------------------------------------------------------
Using Manual Settings:
______________________
First of all, upload en.lng to tpa/preset/system/language
This will:
*Change Text in Camera Interface according to driver.
*Add brief Tutorial/Help in camera interface for each Manual Setting used in the driver.
________________
To use ISO (Light Sensitivity) Control:
In normal mode (without flash), simply raise or lower EV to control ISO as below
To use ISO (Light Sensitivity) Control:
Switch to Beach/Snow mode which is now Non-flash ISO Control mode, simply raise or lower EV to control ISO as below
EV = ISO
-2.0 = ISO 100
-1.7 = ISO 100
-1.3 = ISO 125
-1.0 = ISO 160
-0.7 = ISO 200
-0.3 = ISO 250
0.0 = AUTO
+0.3 = ISO 320
+0.7 = ISO 400
+1.0 = ISO 500
+1.3 = ISO 640
+1.7 = ISO 800
+2.0 = ISO 1000
For Flash Shots, just raise EV in Auto-mode:
EV = ISO
-1.0 = ISO 100
-0.7 = ISO 125
-0.3 = ISO 160
0.0 = AUTO
+0.3 = ISO 200
+0.7 = ISO 250
+1.0 = ISO 320
+1.3 = ISO 400
+1.7 = ISO 500
+2.0 = ISO 640
________________
To use Manual Focus:
Set focus to INFINITE.
Go to the last tab in camera menu labelled Manual Settings (1).
Select Focus.
Use D-pad to change EV value. EV value will change lens position rather than exposure, so you can focus manually
-2.0 = 0 Focus steps (Infinite)
-1.7 = 4
-1.3 = 8
-1.0 = 12
-0.7 = 16
-0.3 = 18
0.0 = 20
+0.3 = 22
+0.7 = 24
+1.0 = 26
+1.3 = 28
+1.7 = 30
+2.0 = 32 (Closest focus step)
________________
To use Manual Contrast:
Go to the last tab in camera menu labelled Manual Settings (1).
Select Contrast
Change EV with D-pad to change contrast and to level your pictures manually.
EV = -2.0 (Black Contrast)
EV = +2.0 (White Contrast)
________________
To use Manual Saturation:
Go to the last tab in camera menu labelled Manual Settings (1).
Select saturation
Change EV to change Saturation.
EV = -2.0 (Minimum Saturation or Black and White pictures)
EV = + 2.0 (Maximum or insane Saturation)
________________
To use Effects:
Go to the last tab in camera menu labelled Manual Settings (1).
Select Effects
Use EV to switch between effects
EV = +0.3 (Negative)
EV = +0.7 (Solarize)
EV = +1.0 (Sepia)
EV = +1.3 (Black and White)
________________
To use Manual Colour balance:
Go to the second tab in camera menu labelled Manual Settings (2).
Balance Cyan-Red or Yellow-Purple as you desire.
Configure with EV as below.
EV = -2.0 (No extra colour)
EV = -1.7 to 0.0 (First Colour intensity. Max at 0.0)
EV = 0.3 to + 2.0 (Second colour intensity. Max at 0.3)
________________
To use Manual White Balance:
Go to the second tab in camera menu labelled Manual Settings (2).
Select White Balance.
EV = + 0.7 (Incandescent)
EV = + 1.0 (Fluorescent)
EV = + 1.3 (Daylight- Outdoor clear sky)
EV = + 1.7 (Cloudy- Outdoor Cloudy sky)
To use Manual Hue:
Go to the tab in camera menu labelled Manual Settings (3).
Select Colour Hue.
This is not an original property of the driver but is a manipulation of colour correction codes to produce a variety of light shades/tints to enhance a specific colour you want to be exposed most prominently.
-2.0 = No tint
-1.7 = Purple/Magenta
-1.3 = Blue
-1.0 = Cyan
-0.7 = Green 1
-0.3 = Green 2
0.0 = Off
+0.3 = Yellow
+0.7 = Deep Yellow
+1.0 = Orange
+1.3 = Red
+1.7 = Deep Red
+2.0 = No Tint
________________
To use Manual Sharpness:
Go to the tab in camera menu labelled Manual Settings (3).
Select Sharpness and balance it by EV buttons
More sharpness can sometimes result in more noise.
EV = -2.0 (Minimum)
EV = +2.0 (Maximum)
________________
To use Manual Auto-exposure lock:
Go to the tab in camera menu labelled Manual Settings (3).
Select Auto-exposure lock.
At EV = 0.0, Auto-exposure lock is turned off. Point camera towards any object and then change the EV to any value other than 0.0 to lock Auto-exposure.
________________
General Information
More accurate focus
Better Flash Mode
Forced RER with higher ISO
Auto mode:
Lowest shutterspeed 1/6s
Flash shutter speed 1/250s
Default ISO125 for flash
Portrait mode:
Portrait mode has more depth of field
Landscape mode:
Adjusted hue to make pics less yellowish or greenish
Twilight landscape mode:
2s shutter speed and low ISO settings to get a better quality of night shot
Adjusted hue to make night shot less reddish
Twilight portrait mode:
Lowest shutter speed without flash:1/4s
Lowest shutter speed with flash:1/8s
Default ISO without flash 100
Manual ISO:
+0.3ev = ISO125
+0.6ev = ISO160
+1.0ev = ISO200
+2.0ev = ISO400
Beach/snow mode:
For shooting in beach/snow in case of overexposure
Adjusted hue to make pics less yellowish
Sports mode:
Lowest shutter speed:1/40s
New saturation to make pics look real
New hue value to fix colour error
Document mode:
More sharpbness, contrast and forced Flash in RER mode
New compression of images (1.5 to 1.9 MB) so that they can be used with PhotoDJ and PhotoFix
New Colour Correction for making images less yellowish with flash
25-35 fps in normal video mode
Fotos:
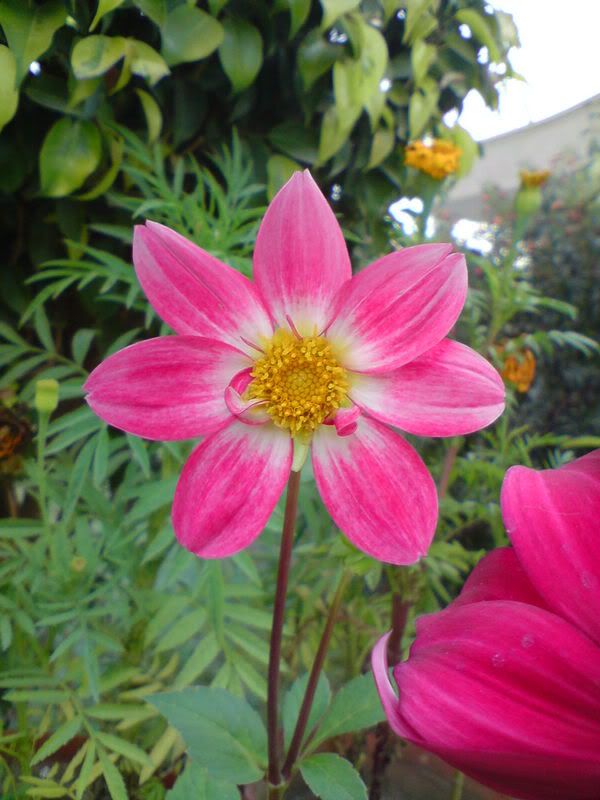
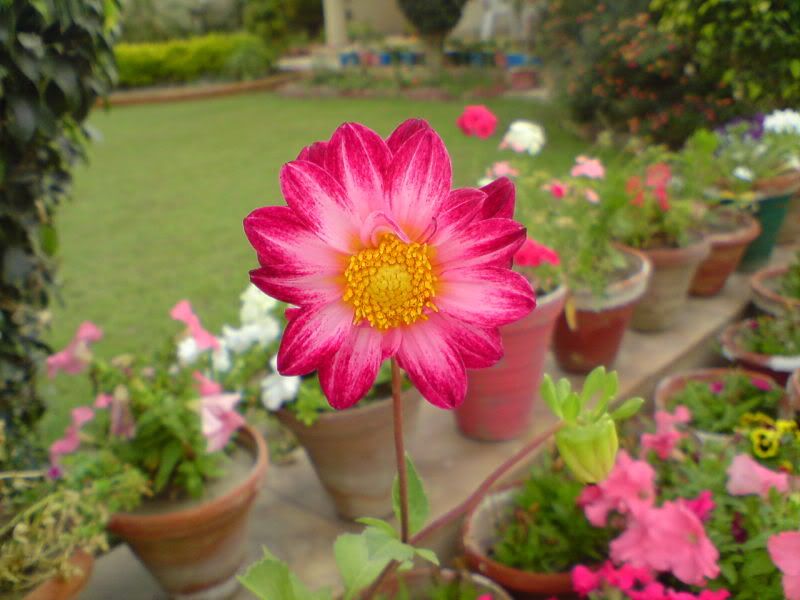
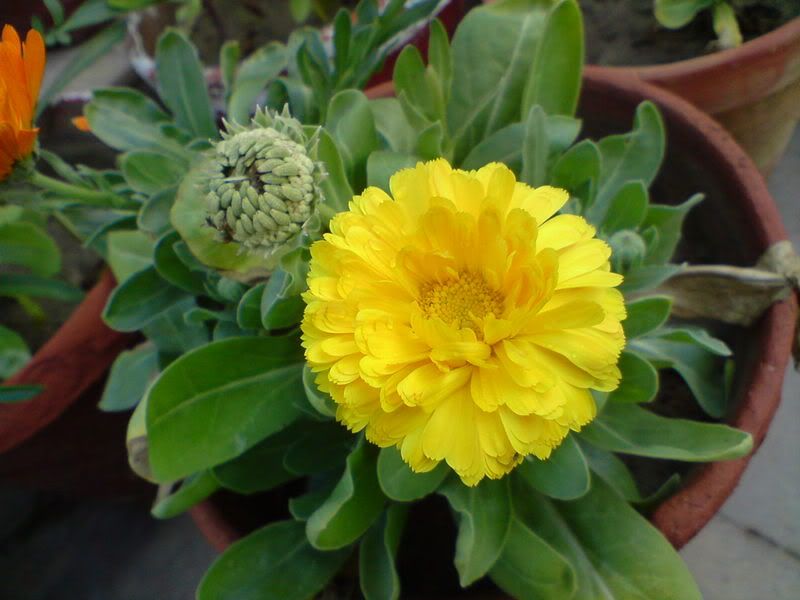
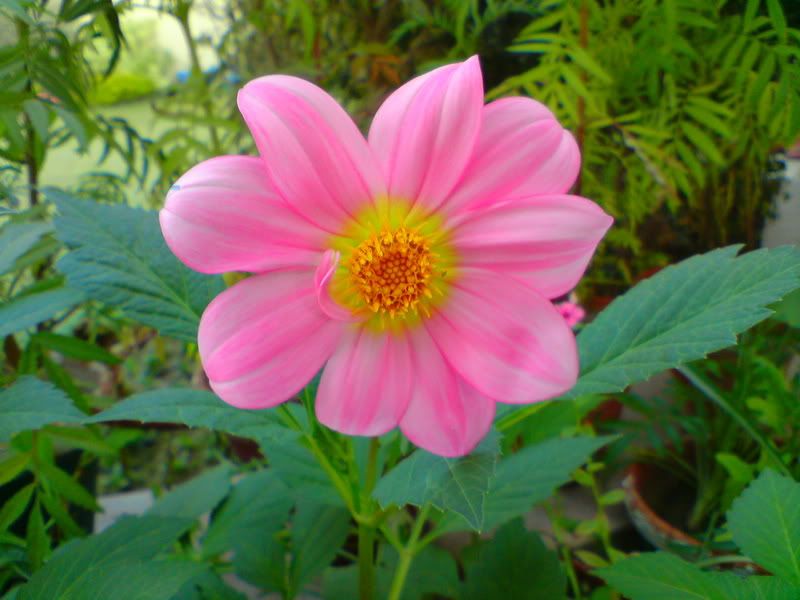
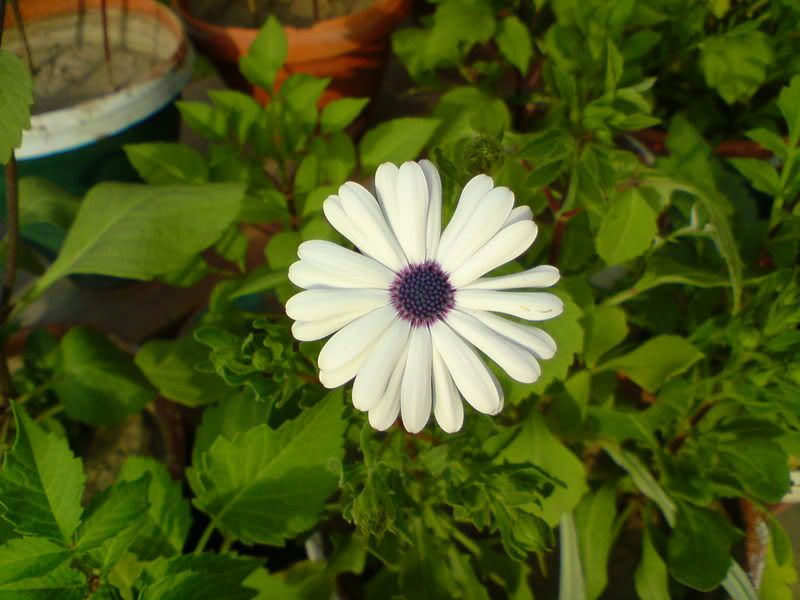
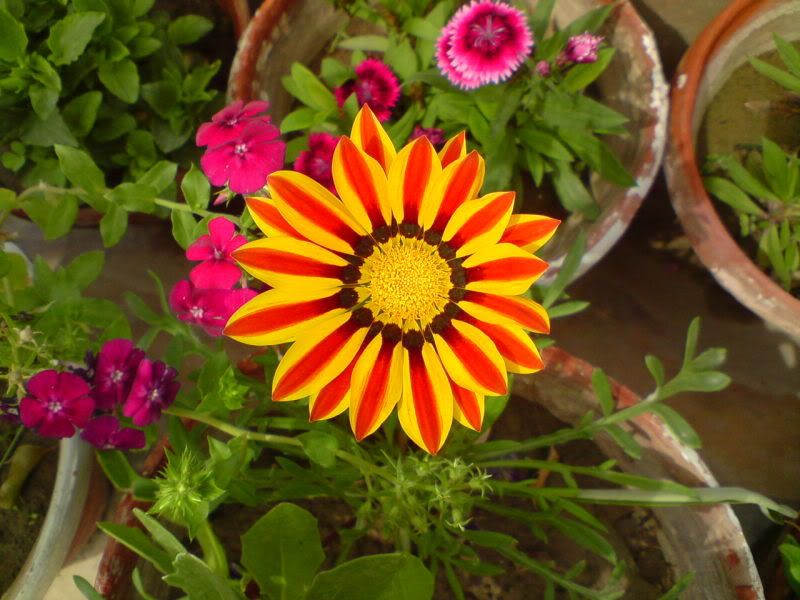
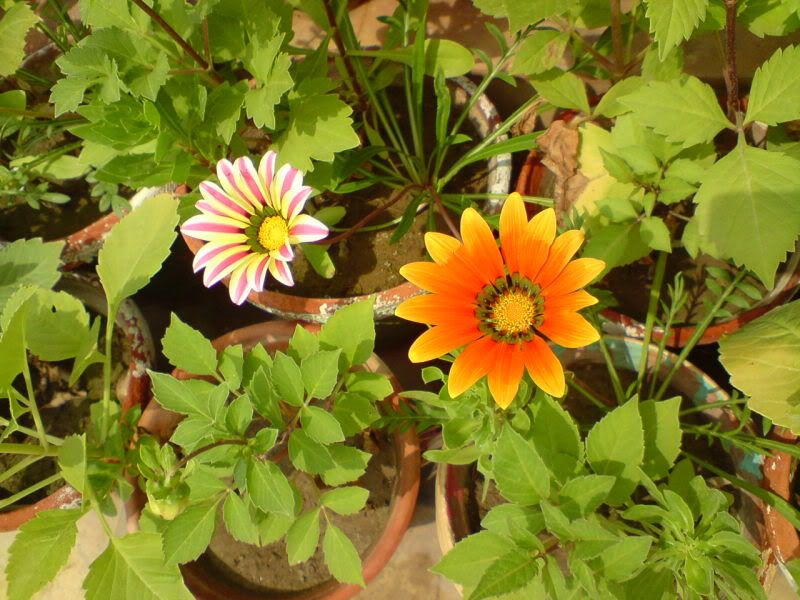
 Reduced: 87% of original size [ 800 x 600 ] - Click to view full image
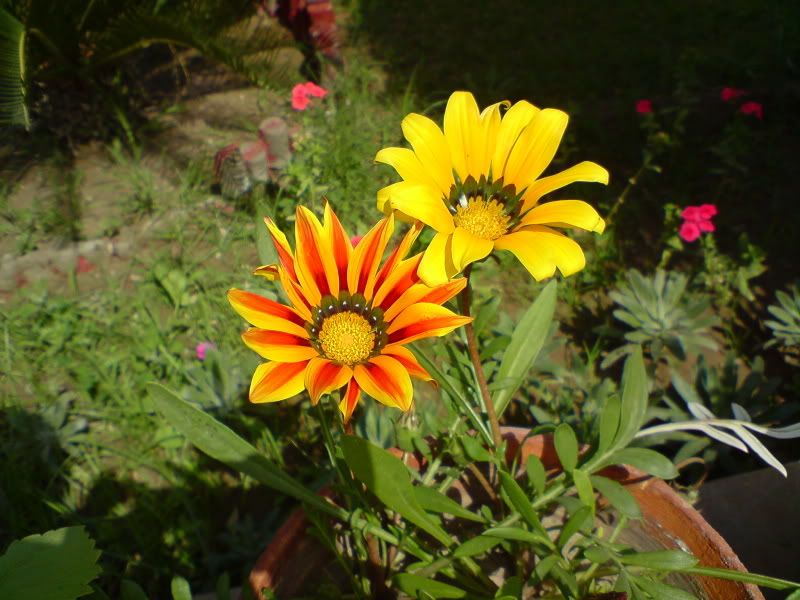
Revisen por ustedes mismos!
salu2!
Cybershot_Xperience_by_Witchking_7.5.zip <- Camdriver Nuevo
PD: los encontre en google
Última edición por Andrey_; 16/08/2009 a las 04:55:05
16/08/2009 21:21:11 #29Plus 10

- Fecha de ingreso
- 22/ene/2007
- Ubicación
- Perú
- Móvil
- K850i
- Mensajes
- 132
 Respuesta: Que Pasa Con Las Camdrivers Del K850???
El ToughShot v7.36 by adolfvicious (Antes llamado cybershot hasta la version 7.27) ahora trae configuraciones manuales como Cybershot_Xperience_by_Witchking_7.5.
Otro detalle es que llega hasta ISO 1600 es un poco exagerado porque hasta ahora me han salido las fotos bien blancas. Más lo he usado con ISO 800 y yo he traducido el idioma, asi que pueden usarlo en español facilmente esta en el foro de camdrivers.
Ningun bug con el hasta el momento.Última edición por gpuente82; 16/08/2009 a las 21:24:42
21/08/2009 15:47:17 #30Recién Iniciado
- Fecha de ingreso
- 20/nov/2006
- Móvil
- -
- Mensajes
- 8
Respuesta: Que Pasa Con Las Camdrivers Del K850???
yo tambien probe esos que pusiste y la verdad son muyy bueno yo ya tenia tiempo usando los cibershot xperience y me decepcionaron las ultimas versiones porque quema demasiado las fotos en la noche a mi gusto no salen ni reales los colores, la unica que no salen tan blancas son la version 4.1 Iniciado por gpuente82
Información de tema
Usuarios viendo este tema
Actualmente hay 1 usuarios viendo este tema. (0 miembros y 1 visitantes)
Temas similares
-
[AYUDA] camdrivers
Por betitoxD en el foro Firmware - Actualización - Despersonalización - Cambio de idiomaRespuestas: 0Último mensaje: 17/02/2012, 03:57:31 -
ayuda con un k850 muerto no pasa flash
Por FRESCO353 en el foro Se Tool Box / DongleRespuestas: 3Último mensaje: 23/12/2011, 17:54:36 -
que pasa con k850 parpadea
Por jaconri en el foro A2UploaderRespuestas: 8Último mensaje: 17/04/2010, 16:50:35 -
K850 o camdrivers cambiar shutter speed
Por JuanManu en el foro Camdrivers - Dispdrivers - Acoustic DriversRespuestas: 2Último mensaje: 22/10/2009, 03:38:26 -
ayuda con mi k850 no se que pasa?
Por carlos561 en el foro Hardware (Problemas Fisicos)Respuestas: 5Último mensaje: 25/02/2009, 21:32:58
Etiquetas para este tema
 Permisos de publicación

 RESPONDER
Marcadores